Connect WooCommerce
Authorize Synco from your WordPress store without manually creating or pasting REST API keys.
Synco uses the WooCommerce authorization screen to create a Read/Write REST connection. WooCommerce sends the credentials back to Synco after approval, so there are no consumer keys to copy manually.
Prerequisites
- An active WooCommerce store served over HTTPS
- Administrator access to the WordPress site
- A Synco account
- A store URL whose WooCommerce REST API is reachable
Connect a store
Open Connection, then select Connect WooCommerce Store.
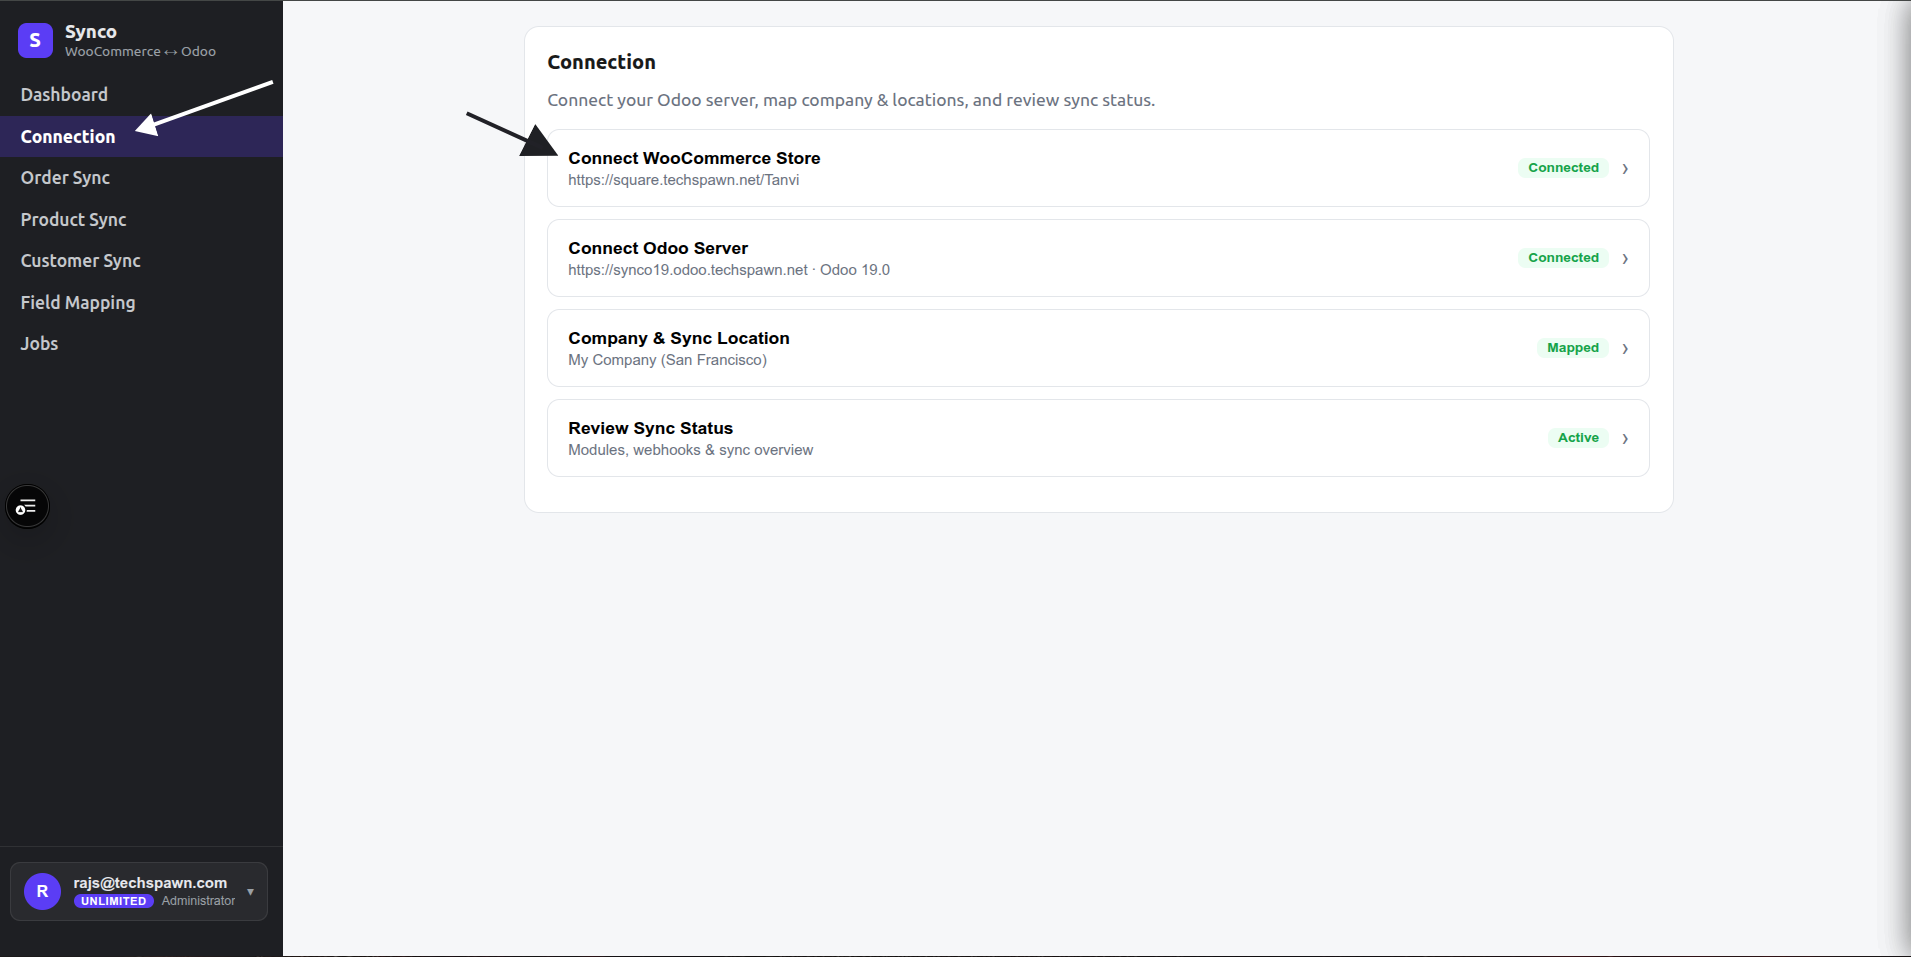
The Connection page summarizes the status of WooCommerce, Odoo, company/location mapping, and synchronization readiness.
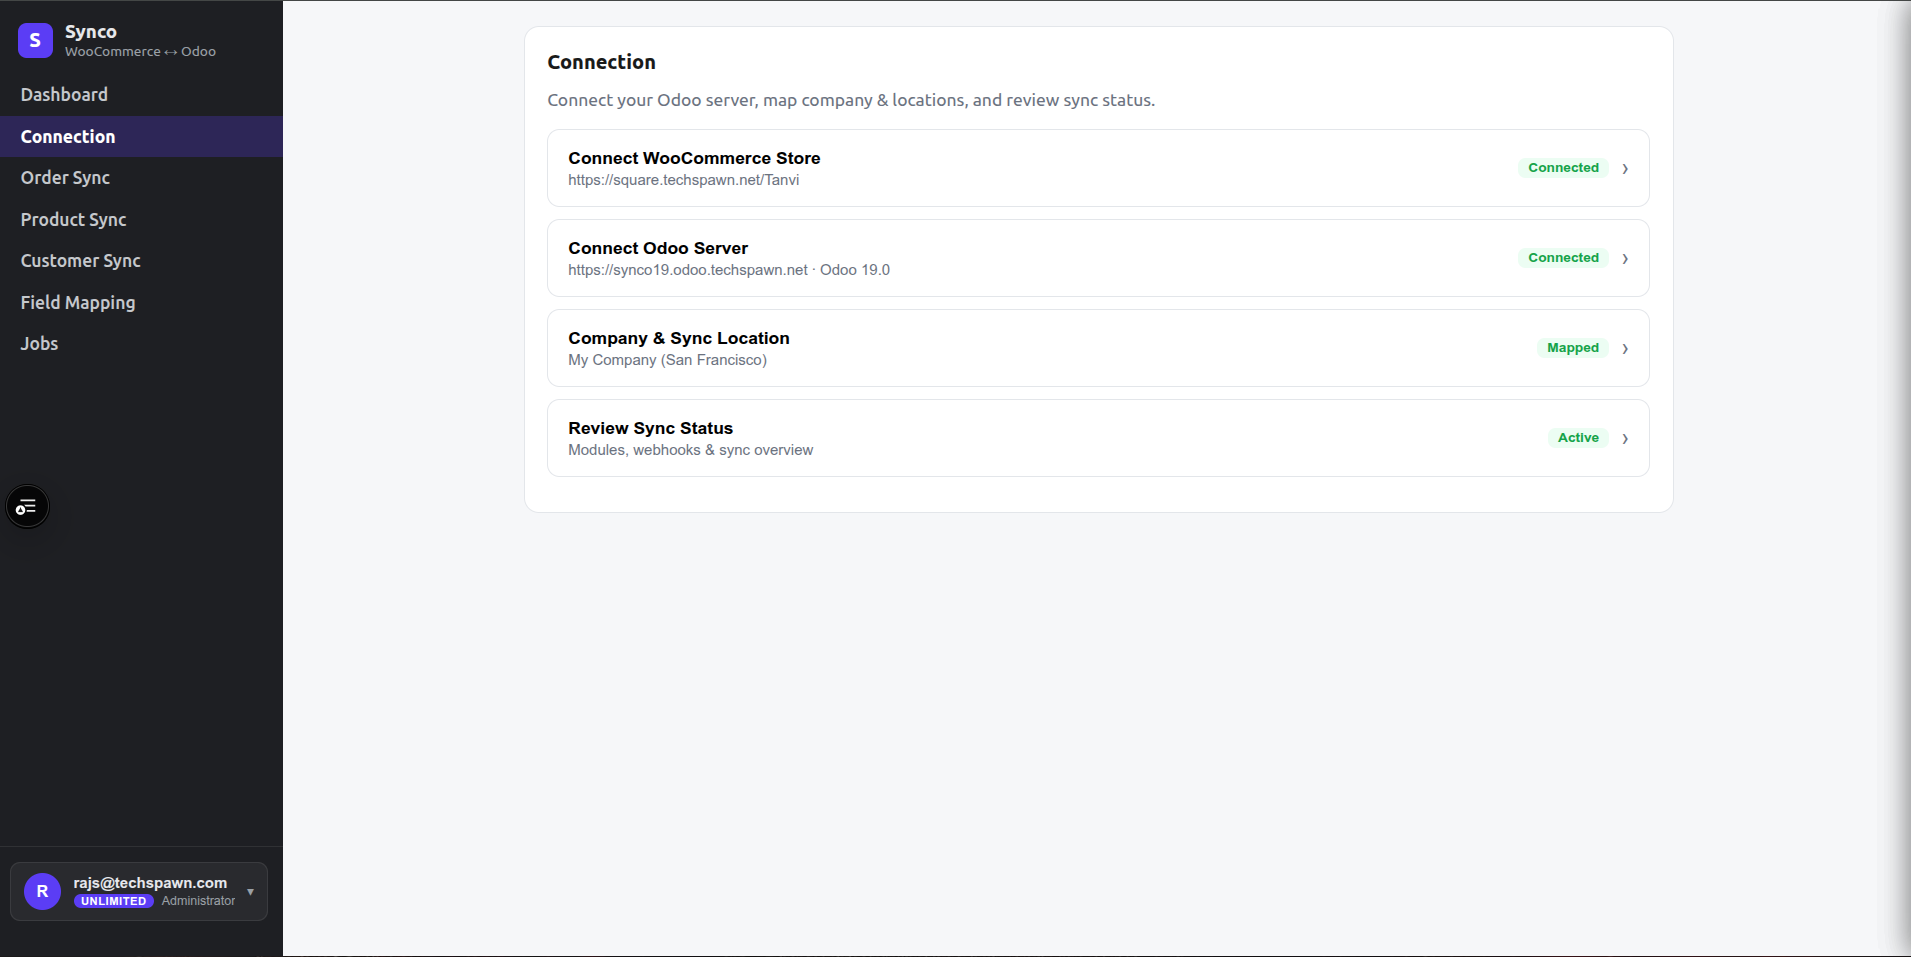
- Sign in to Synco and open Connection.
- Select Connect WooCommerce.
- Enter the complete store URL, such as
https://store.example.com. - Select Connect store.
- On the WordPress authorization page, review the requested Read/Write access and approve it.
- Wait for the browser to return to Synco. A successful callback displays the connected store on the dashboard.
During the callback, Synco validates the credentials, reads the store country and currency, encrypts the credentials at rest, and attempts to register the webhooks used by automatic synchronization.
Reconnect a store
Open the WooCommerce connection drawer and select Reconnect store. Complete the authorization again so Synco receives a current credential pair and can refresh its webhook registrations.
Disconnecting and cleanup
Disconnecting is more than signing out. Synco attempts to remove its registered webhooks and queues a cleanup job that removes Synco-to-Odoo reference metadata before deleting the stored connection.
Review active jobs and mappings before disconnecting. Do not start a disconnect while a large synchronization batch is still running.
Next step
Connect Odoo, then select the company and stock-location mapping used by inventory and order workflows.